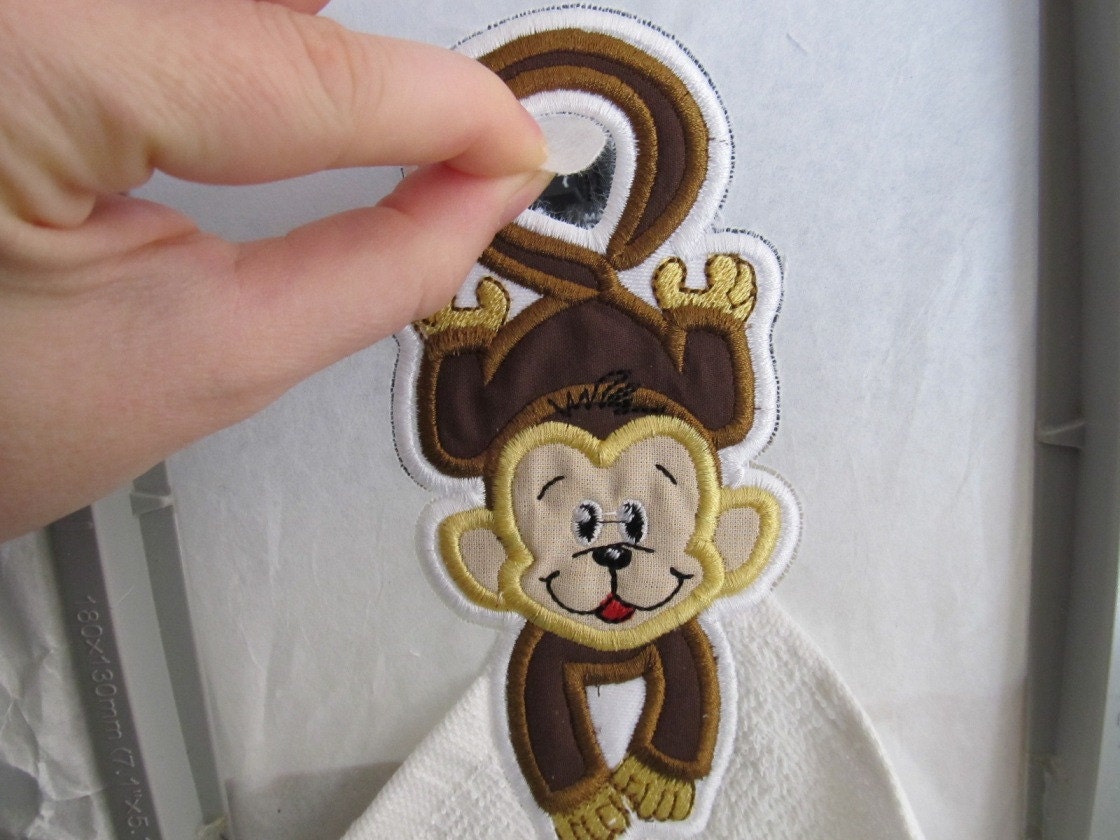
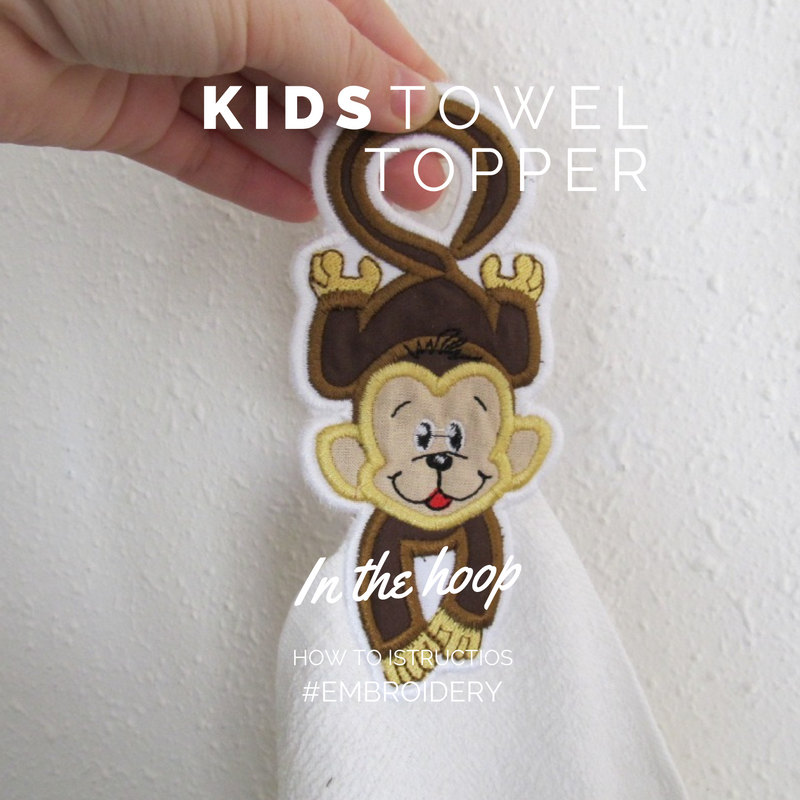
RTAPLI Instructions
Simply ITH (In-The-Hoop) Kids Towel hanging hole
MONKEY - www.etsy.com/listing/179176523
On ETSY
NOTE! Sometimes you should to take out the hoop, but please, do not
unhoop your project! The backing is taped behind the hoop
STEP 1
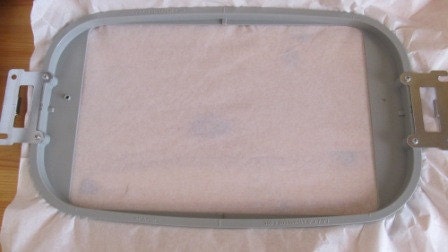
Hoop 2 piece of tear away stabilizer together and attach the hoop to the
machine
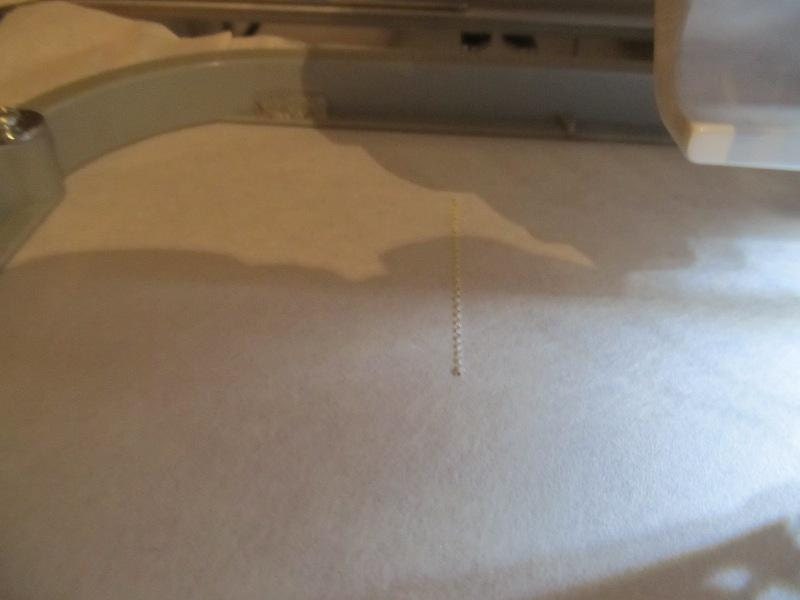
Embroider the dsign outline directly onto the stabilizer. It may be also the position line (as shown on image above)
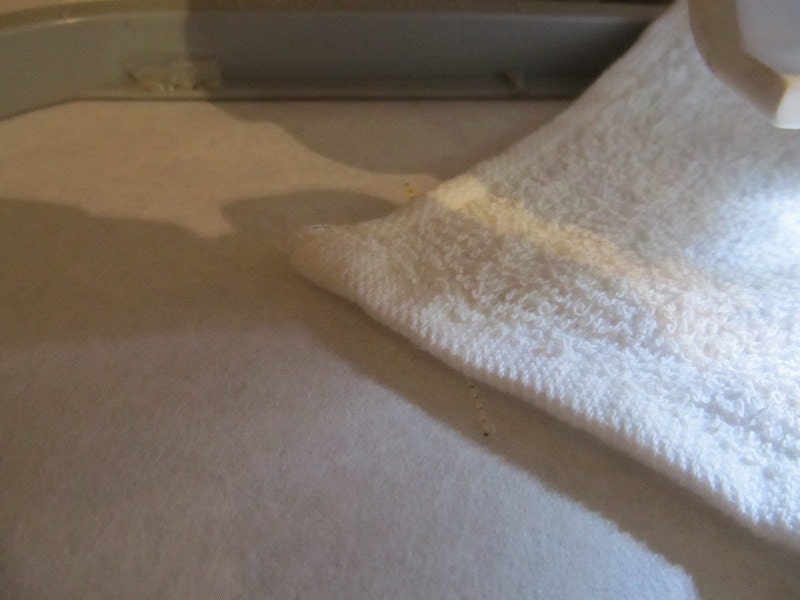
Stop machine, do not unhoop, lay towel right inside the
shape.
NOTE! It is helpful to use the tape to make sure the fabric stays nice
and flat while stitching
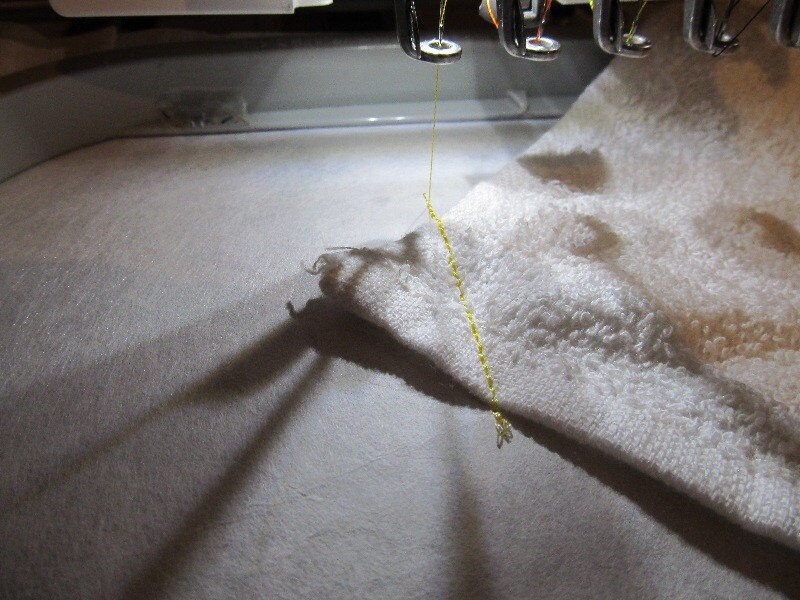
Towel tack down seam will be next, stop machine, do not
unhoop and trim the towel exceed piece.
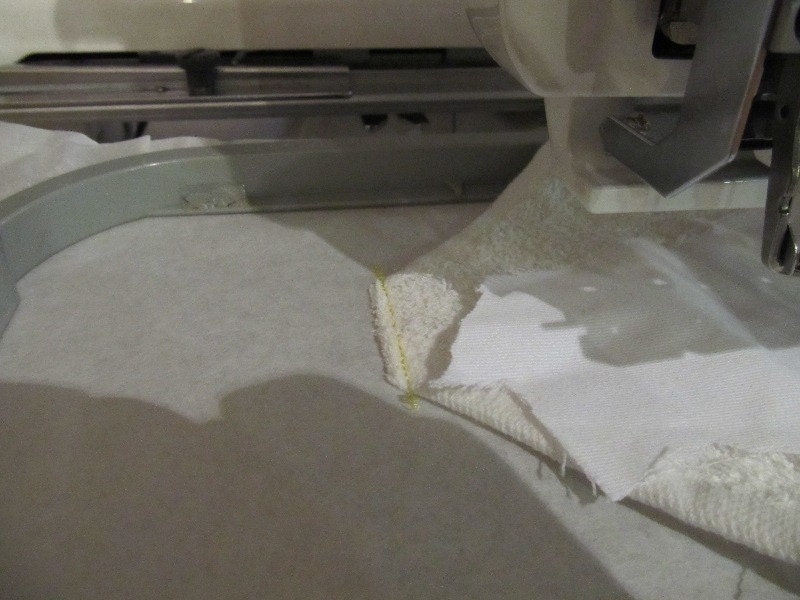
STEP 1
First embroider the outline position seam of monkey.
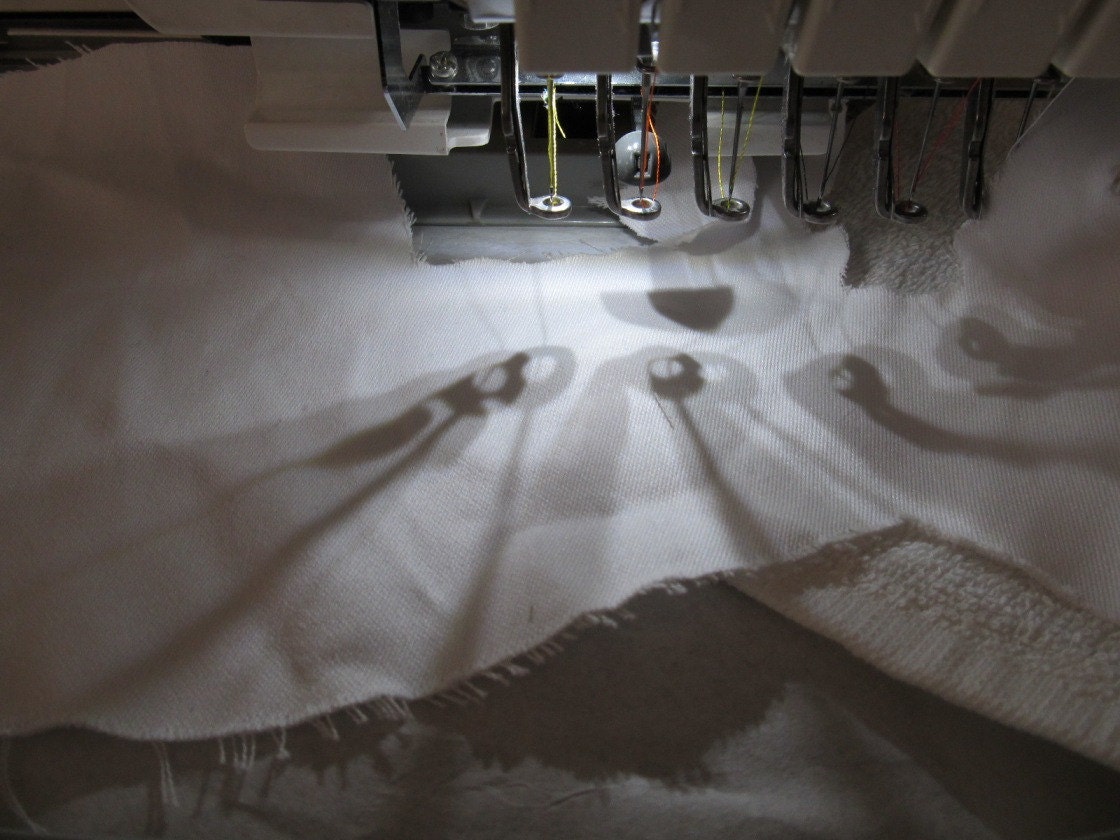
Stop machine, do not unhoop, lay WHITE fabric right inside
the shape first and embroider the whole project outline to fix white fabric.
NOTE! It is helpful to use the tape to make sure the fabric stays nice
and flat while stitching.
Stop machine, Do not cut out the shape yet and do not unhoop your project, complete with the monkey applique now:
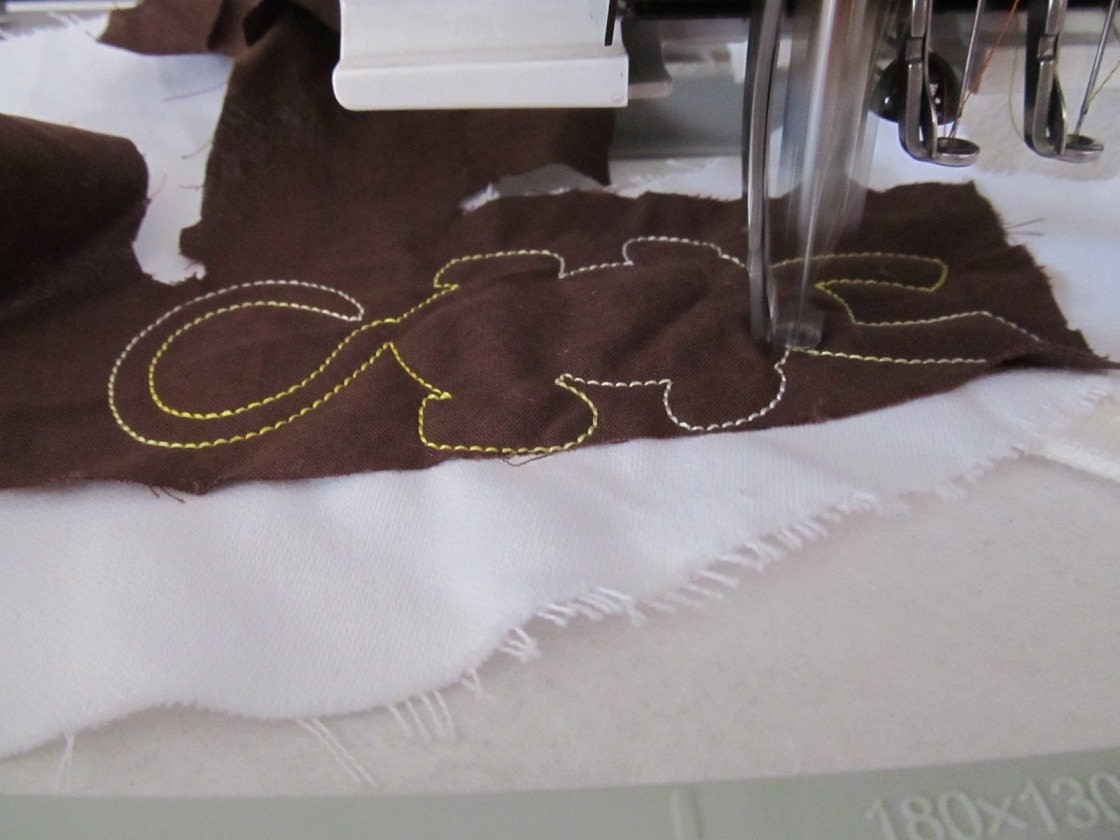
Lay BROW monkey fabric right inside the shape and make the whole monkey outline now. Complete with the Monkey design as usual appliqué.
IMPORTANT to do not trom the WHITE fabric yet, you
will do it later, when the monkey will be fully complete.
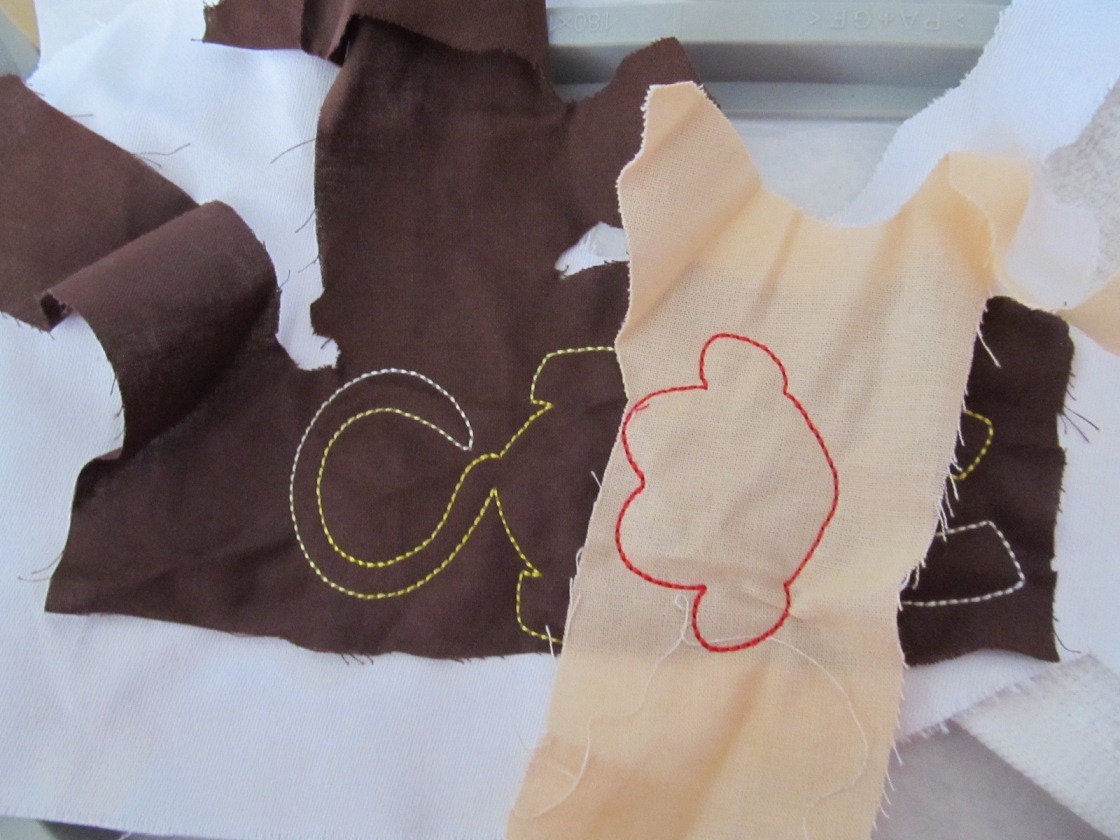
Complete with the Monkey design as usual appliqué:
appliqué position seam, appliqué tack down, fabric trimming and all the monkey satin stiches, face, details.. Monkey should be ready!

When Mokey is done turn the hoop to attach the backing/lining.
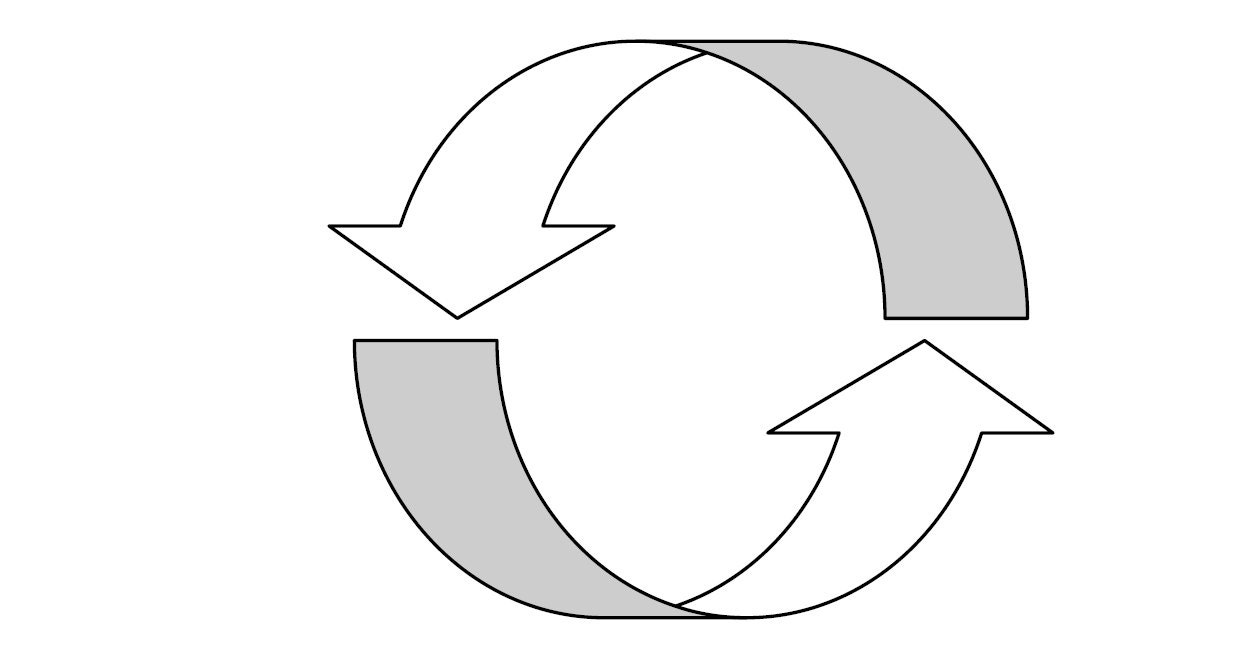
Take the hoop from machine, but do not unhoop project:

Turn around the hoop and attach the lining/ facing behind
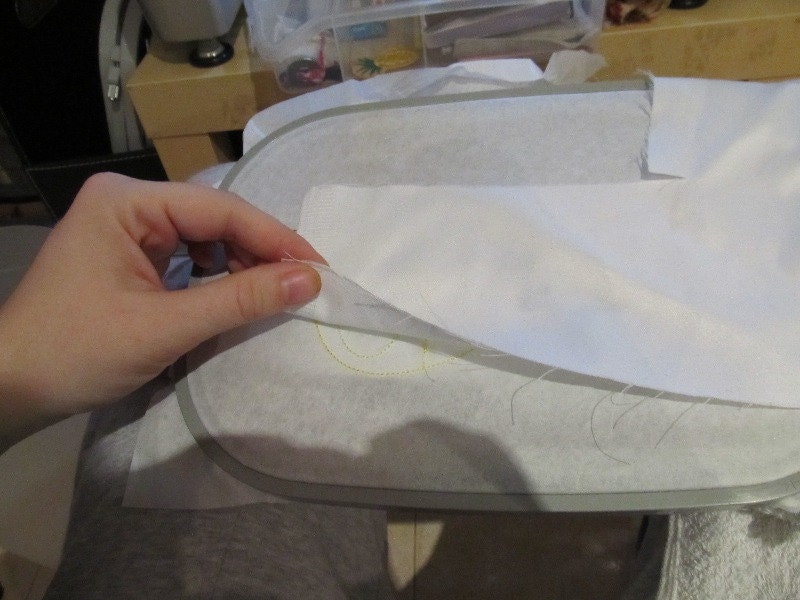
I am fixing the lining/backing with a tape. Look image below:
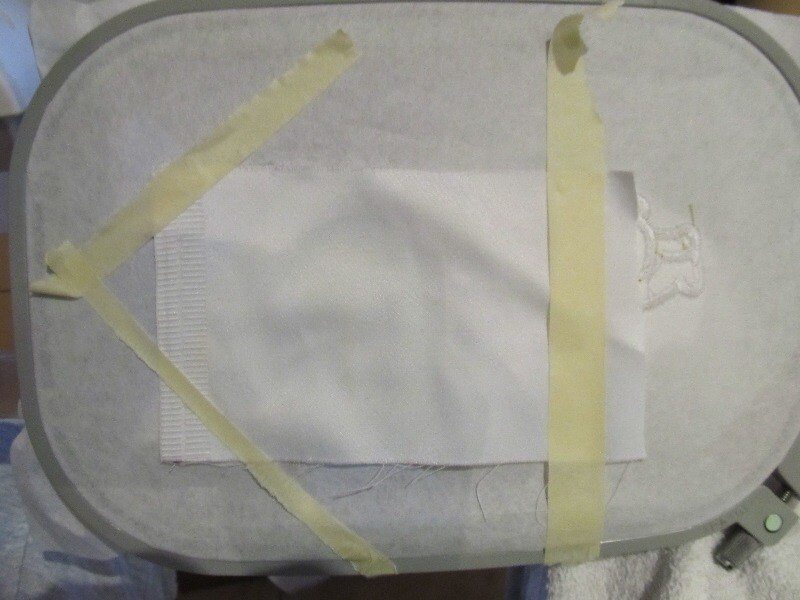
The lining tack down seam will be next
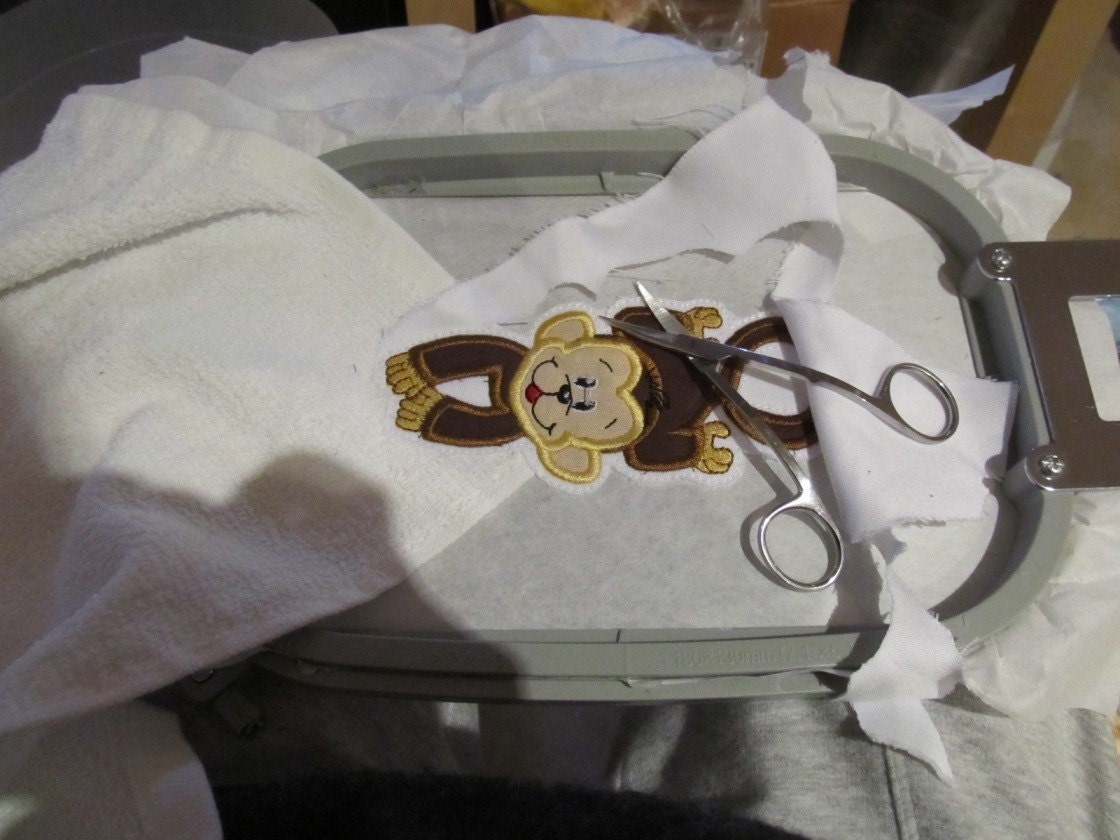
Stop machine, do not unhoop and trim the WHITE fabric now
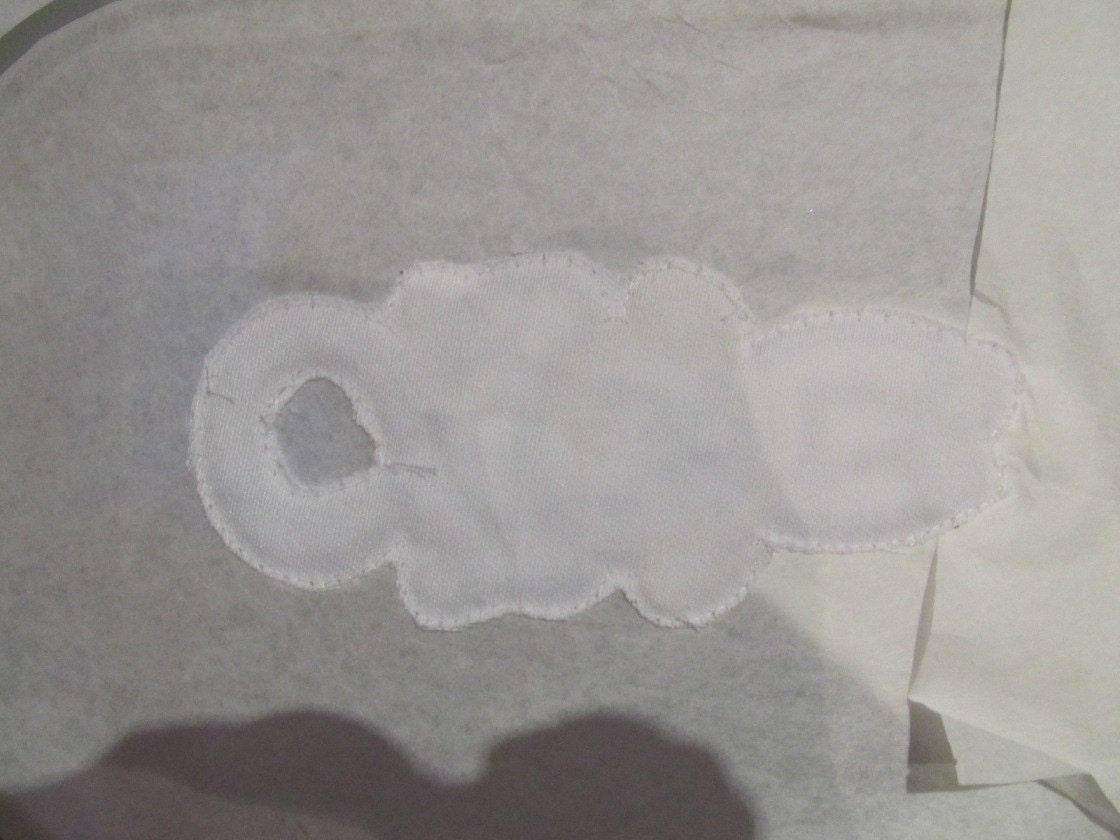
Trim the WHITE fabric now also behind your hoop
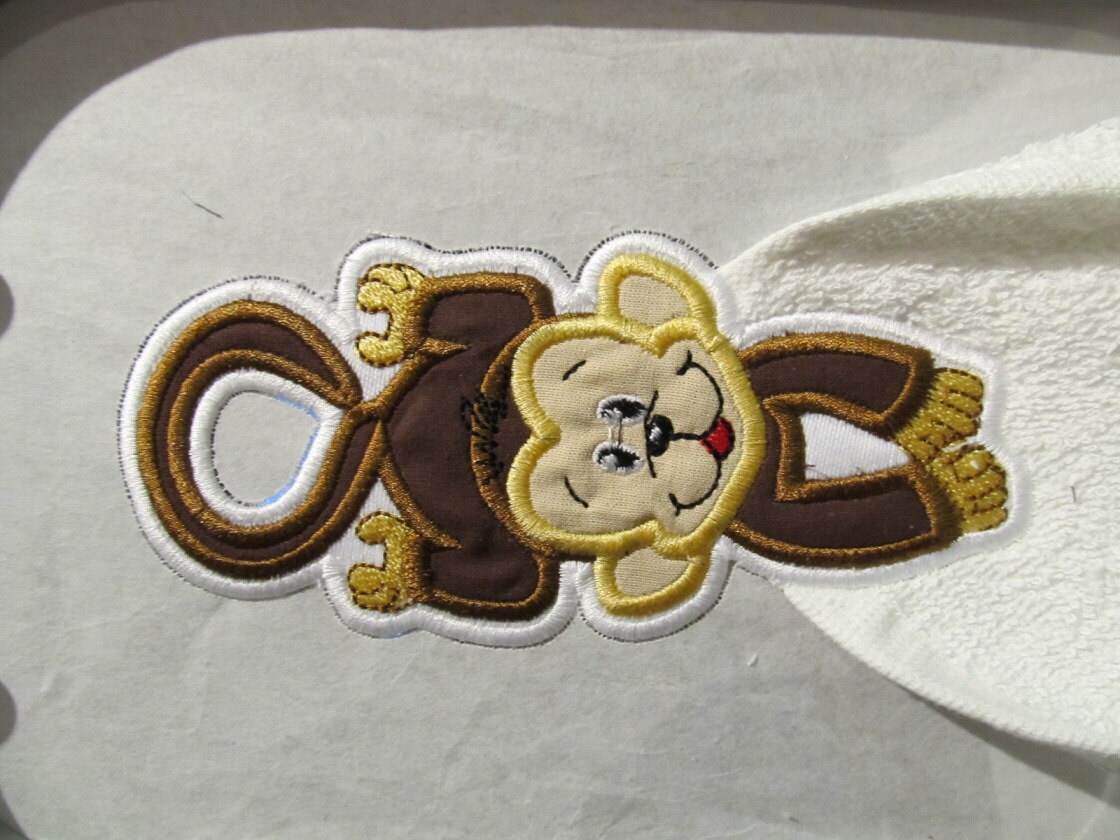
When the design has finished, remove the tape, unhoop, and
gently tear away the excess stabilizer.
